


In my previous post, we delved into the world of the Recoverable Items Folder (RIF) and explored what would happened if you exceeded the quota. Check out the article “Breaking the 100GB Barrier: Solutions for Expanding Your RIF Limit in Microsoft 365“.
In this article, we’re going to guide you step-by-step on how to apply a Retention Policy or enable litigation hold on your mailbox which will increase the RIF’s quota but also provide you with more than double the space you had before! So, let’s dive in and unlock the potential of your mailbox storage like never before!
REQUIREMENTS
To complete the steps to enable retention policies or litigation hold, you will need the following permissions in Exchange Online.
To apply Retention Policies, you need the following permissions:
- Organization Management
- Recipient Management
- Records Management
To create or edit Retention Policies, you need the following permission:
- Compliance Administrator Role
| NOTE | If you have Global Administrator rights, then you will already have the permissions to add, edit and apply retention policies in M365 |
CREATE AND ENABLE A RETENTION POLICY
Before you can apply a retention policy, you’ll need to have one already configured. Don’t stress, the first part of this article will take you through creating a basic retention policy that most organizations tend to create. We will be creating a policy that retains data “indefinitely”. What does this mean? In a nutshell, it means the data will never be purged from Exchange Online – even if the end-user deletes it from their mailbox.
- Navigate to the M365 Admin Portal, once there:
- Navigate to the Compliance Administration portal (or the Microsoft Purview Compliance portal as it’s now known)
- From here, select Data lifecycle management then Microsoft 365 and finally Retention Policies
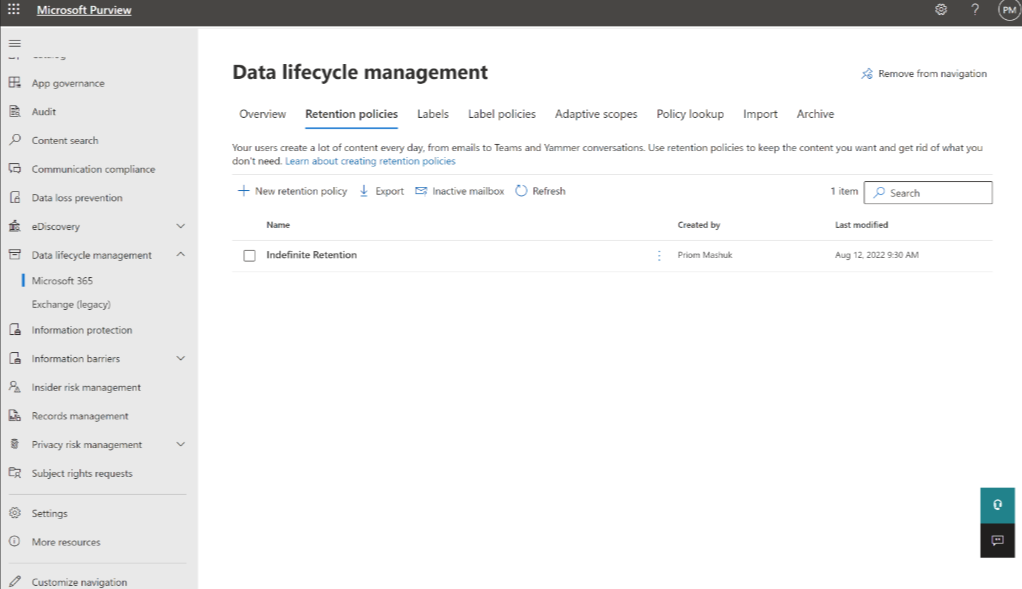
- Select New retention policy
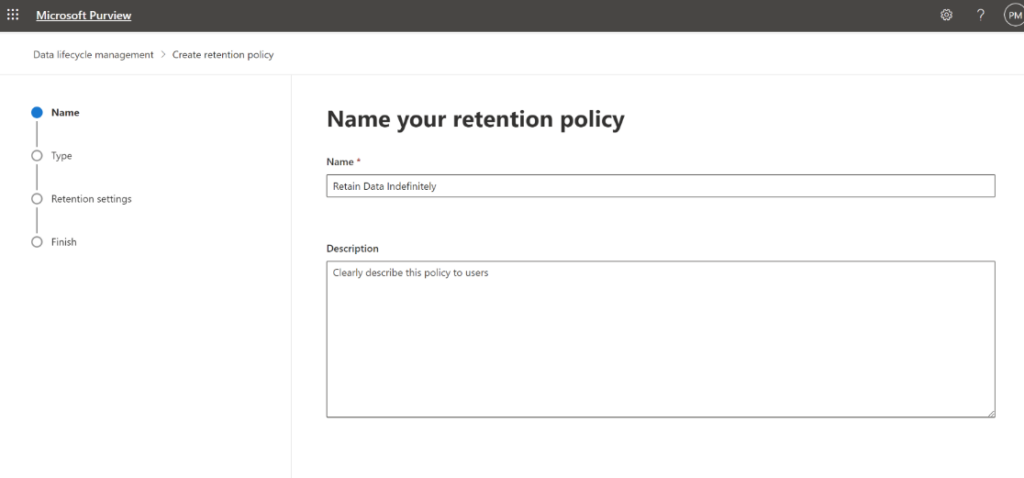
- Input a name for the policy (e.g. Retain Data Indefinitely) then click Next
- Select Static and click Next
- For this article we will only focus on Microsoft Exchange so that’s the only location we will toggle on with all recipients enabled and click Next
Note: You can also change the scope to manually enable the policy for a selected group of recipients if you prefer - In this section, we define the retention period. To retain data indefinitely, the second radio button will need to be selected like below:
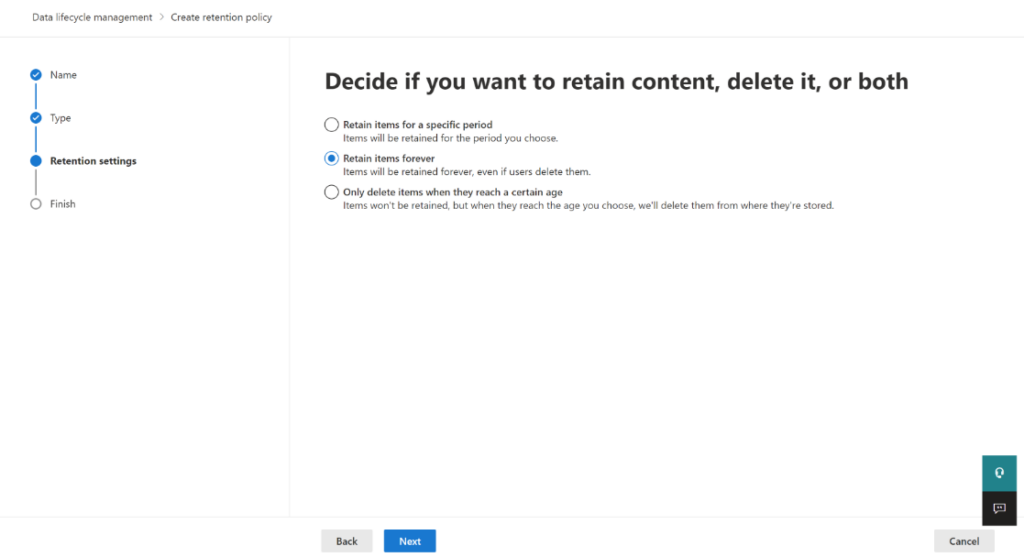
- Once selected, click Next
- Then to finalize the policy creation, click Submit
There you have it! You have successfully created a retention policy to retain data indefinitely!
Now if you limited the selection scope to manual (i.e. excluded all recipients), then the next section will take you through applying a retention policy to a mailbox in Exchange Online.
ENABLE RETENTION POLICY ON A SPECIFIC MAILBOX
To assign a retention policy to a mailbox, you will need to access the Exchange Online Admin Center (EAC).
- In the EAC, select a mailbox from the recipients view (or mailboxes under the recipients menu from the new EAC view)
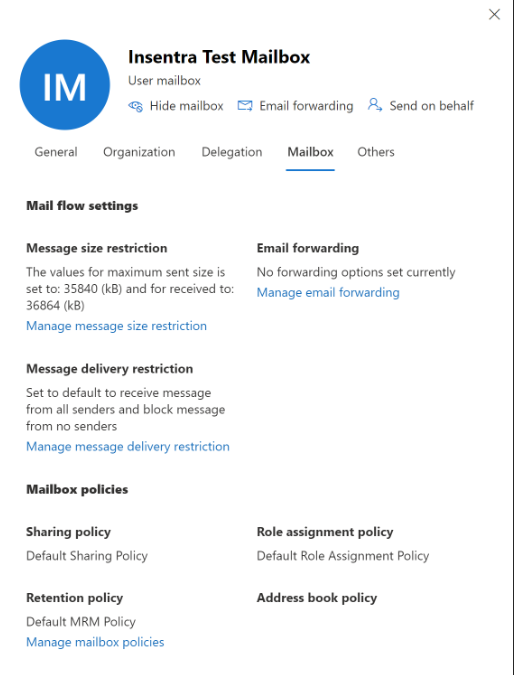
- Then select “Mailbox” from the menu on the new window
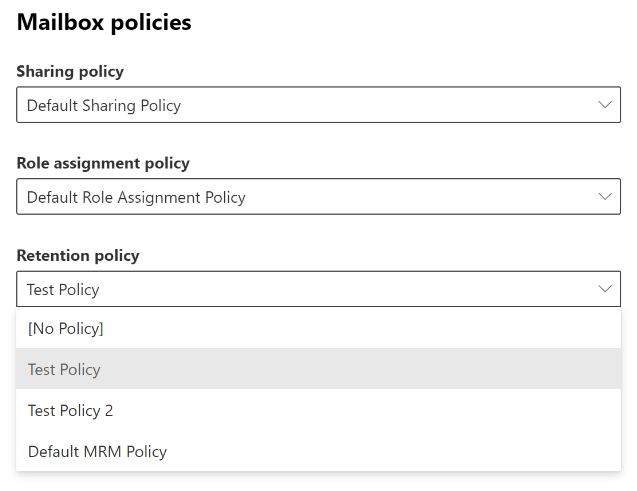
- At the bottom, you’ll see “Retention Policy” and you will be able to select “Manage mailbox policies”. This should take you to the selection screen
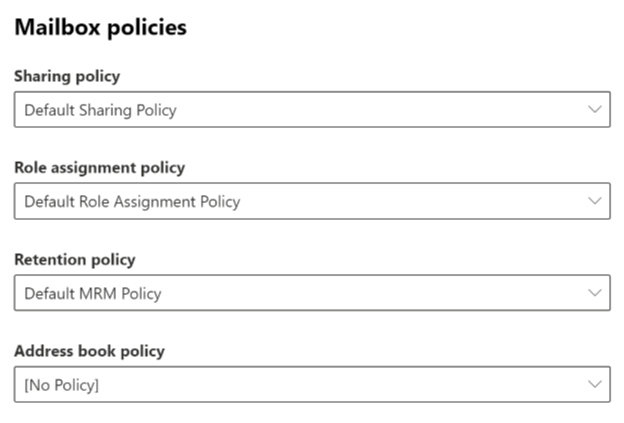
- From the Retention Policy dropdown, select the policy you want to apply and submit to save the settings
- Double Double-click on the mailbox or recipient you wish to enable the policy against to bring up the edit window
Note: You can select more than one mailbox here. - Follow the prompts and submit to save the settings
For any questions, feedback, or assistance, please don’t hesitate to contact us! Our team is here to help you make the most of your mailbox storage.
Stay tuned for our next article, where we’ll cover how to manage the RIF size and prevent it from getting full!