I recently tried to configure nfs-ganesha in a HA configuration on top of a Gluster volume. It seemed like the Red Hat Gluster Storage Administration Guide should have everything necessary. Unfortunately the steps are all over the place and I spent quite some time trying to figure out all the required steps. Given it took me so long, I decided to share the procedure in this blog:
Repeat following steps on all the nodes:
1. Enable repositories:

2. Update the system:

3. Disable firewalld (or keep it running but modify the ports)

4. Install Gluster Storage on all nodes of the cluster. In this example, we are building two nodes

5. Ensure the glusterd service is running and is enabled

6. Create thinly provisioned volume which will be used as the Gluster Brick:

7. Create xfs file system on the newly created logical volume:

8. Create the mount point where the new volume will be created. Repeat the step on all nodes.

9. Mount the file system and add the entries to /etc/fstab

10. Create a directory in /gluster/brick01/brick. This step ensures that in case the file system is not mounted, the gluster will not write to the / file system

11. Create a gluster pool:

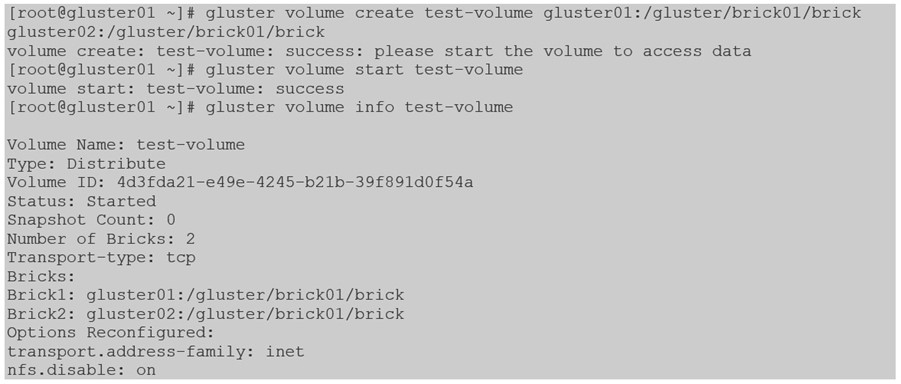
12. Create a simple gluster volume:

13. Install Ganesha. Ensure that glusterd service and processes are stopped before installing glusterfs-ganesha

14. Enable Gluster shared storage. This volume will be used to hold shared ganesha configuration. Perform this step on one node only.

15. Validate if the shared storage is mounted and visible on both nodes.

16. Create nfs-ganesha directory under the shared_storage:

17. Copy Ganesha configuration files to the shared_storage:

18. Navigate to the shared_storage and rename the ganesha-ha.conf.sample to ganesha-ha.conf

19. Enable the following services:

20. Generate public key and copy to all the nodes:

21. Set the password for hacluster user. Perform this step on both nodes

22. Authenticate both nodes for pacekeeper. Perform this step on one node only

23. If you are using SELinux, set the following booleans:

24. Edit /etc/sysconfig/nfs and ensure the following are set. Ensure it is done on both servers:

25. Restart nfs-config rpc-statd and nfslock services

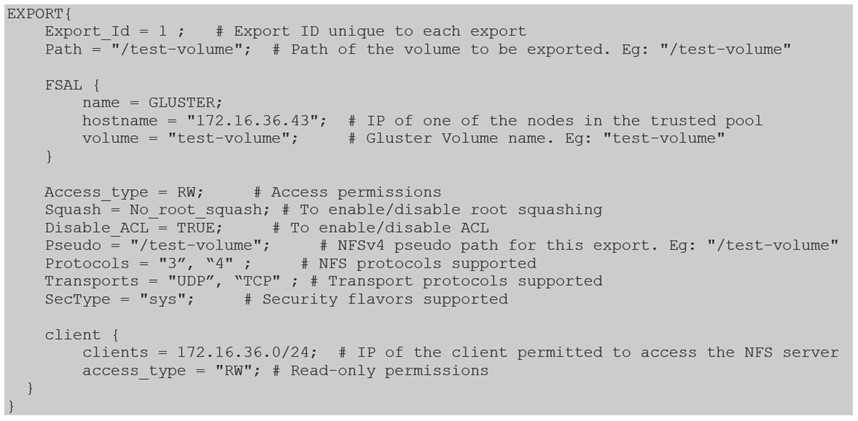
26. Add the following snippet at the end of the ganesha.conf configuration file:
vim /var/run/gluster/shared_storage/nfs-ganesha/ganesha.conf

27. Edit ganesha-ha.conf configuration file located in the same location. This file should have the following content. Notice that we are using shortnames. Notice also that the VIP configuration starts with VIP followed by the shortname: VIP_gluster01. Make also sure that the VIPs are in the same subnet as the IP addresses configured on the servers.

28. Ensure to disable NetworkManager and enable network.service on both nodes. This is required by the clustering software:

29. Restart and enable nfs-ganesha.service on both nodes

30. Enable ganesha on gluster:

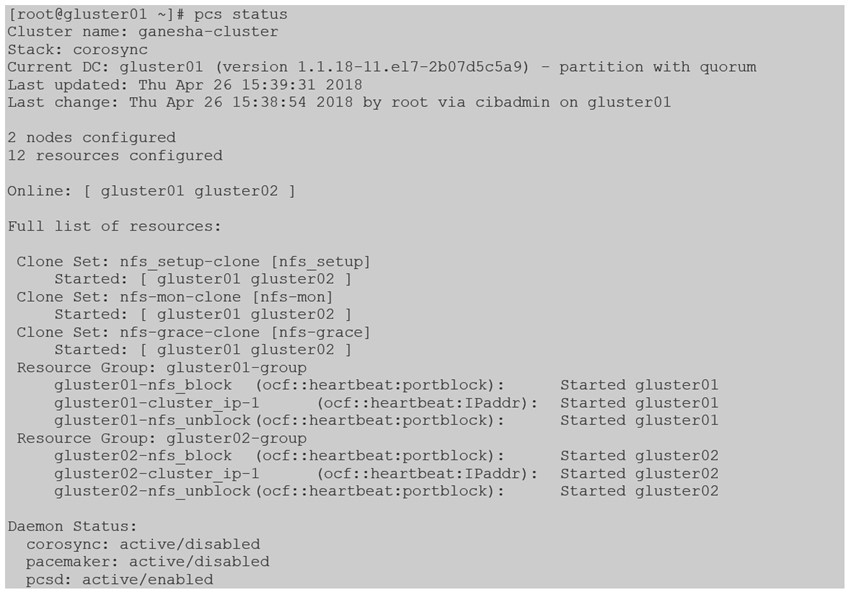
31. Verify the cluster.


32. Verify if the NFS share exists and can be accessed:

33. Use the VIP IP address to mount the NFS share

34. If you require to change the configuration of the Export section in ganesha.conf, do the changes and restart the ganesha service


