Windows Defender Application Control (WDAC) is the next iteration of AppLocker. WDAC is one of the most effective security controls to prevent ransomware attacks. It ensures only approved apps can be run on your devices.
WINDOWS EDITION AND LICENSING REQUIREMENTS
SUPPORTED WINDOWS EDITION

REQUIRED LICENSES

In this blog we are going to cover all the steps needed to implement WDAC with Intune.
CREATE A MANAGED INSTALLER
- Login to the Intune Admin Centre at https://intune.microsoft.com
- Click Endpoint Security > App control for Business (Preview)
- Click Managed Installer > Add > and then click add again after reading the instructions as shown in the image

CREATE AN APPLICATION CONTROL POLICIES
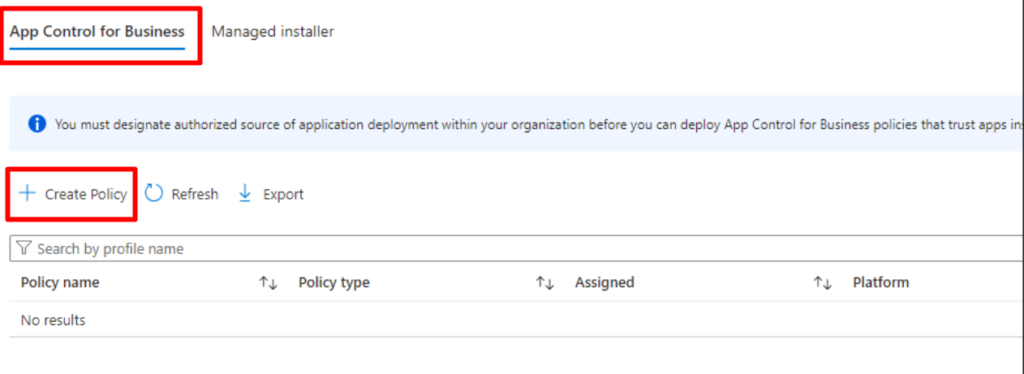
Next, we’re going to create an application control policy. Click Endpoint Security > App control for Business > Create policy
To create the policy, we’ll choose create policy and we’ll give it a name like “App Control” and click Next.

Here, you can see we’ve got a couple of options.

We have to enter XML data, which is the preferred way to do this. We will cover both options but let’s start with built-in controls.

If we use the built-in controls, we enforce Windows components and Store apps to be trusted. We can also set to audit only. It is recommended that you use the audit only option if you are deploying this in your environment for the first time to gather telemetry on the applications you are using.

The other options we get is to select additional rules for trusting apps, which means that we can also trust apps with good reputation and those from managed installers (the one that we configured earlier).

WDAC WIZARD
Now, let’s talk about the XML data as the configuration settings format. The best way to create the XML data is to download the wizard from this link – https://webapp-wdac-wizard.azurewebsites.net/.
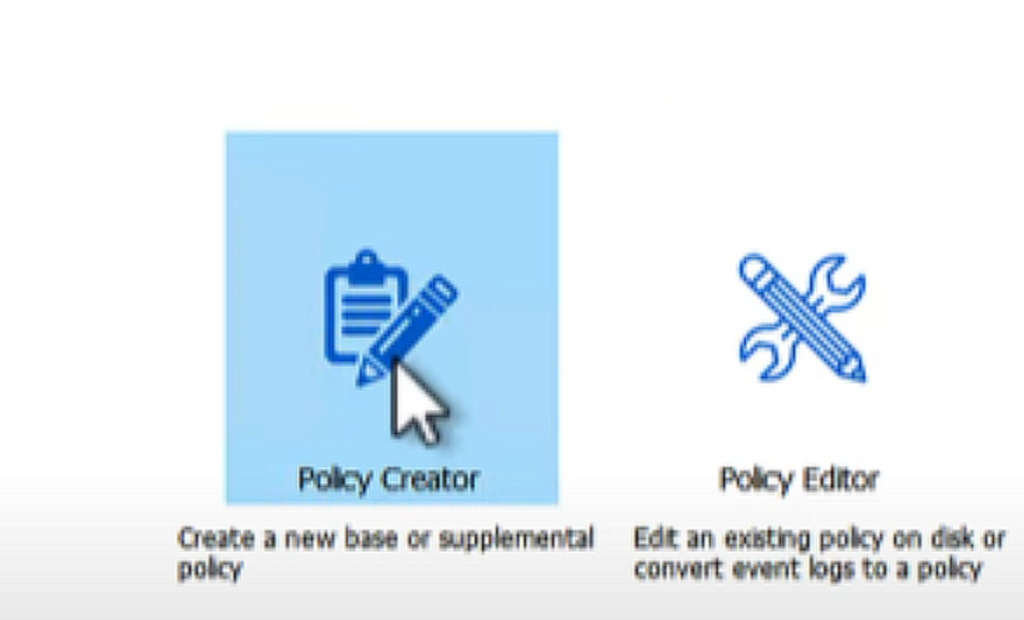
Once you download the wizard, click Policy Creator and click Next.
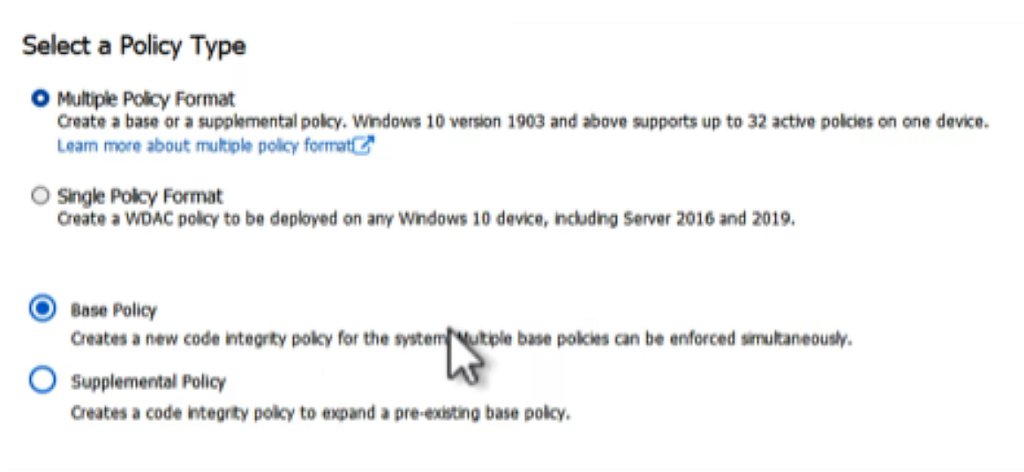
Multiple Policy Format and Base Policy will be selected by default, so just click Next.
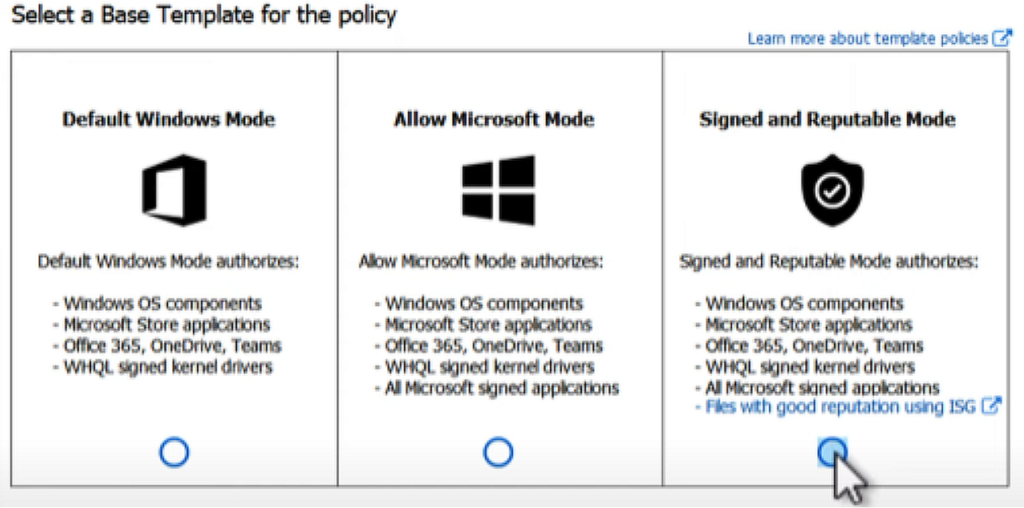
On the next page, select the radio button for Signed and Reputable Mode as the base template, then click Next.
On the next page, make sure that all options shown in the image below are turned on.

There is an option to turn on audit mode for this policy template if you wish to.

These are the default files that you would see once you Click Next.
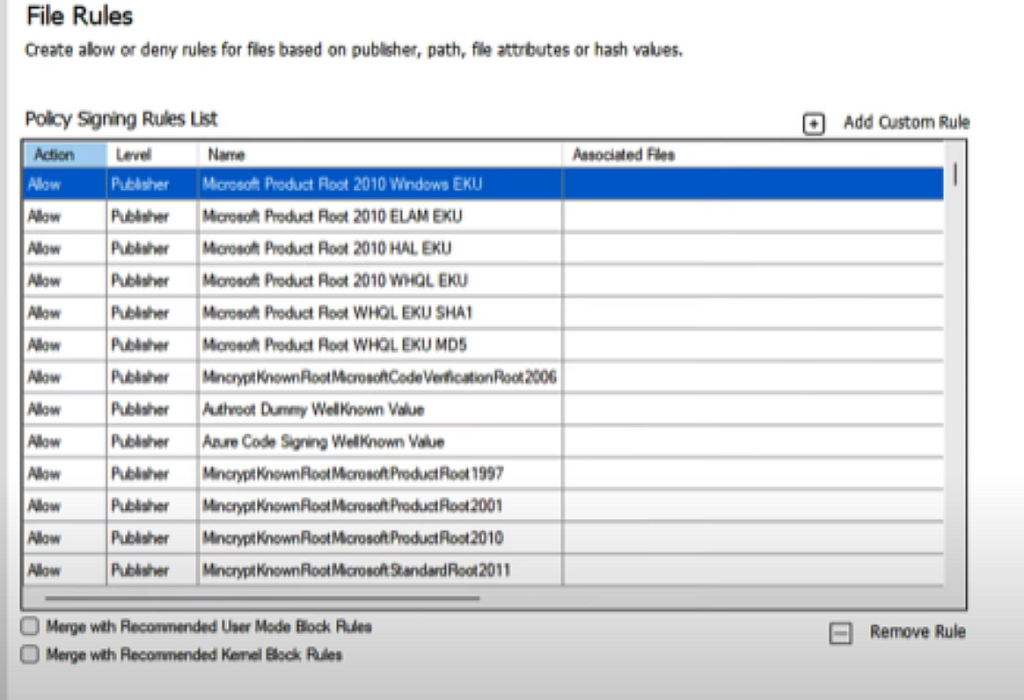
Click Next again and it will start building your WDAC policy.

Once the policy is created, you will be presented with the file path to download the .cip and .xml file.
The file path will be – C:Users(Username)Documents
Now, jump back to the Intune portal and go to the Create App Control for Business Profile section, browse to the path, then upload the xml file besides the Application control policy option.
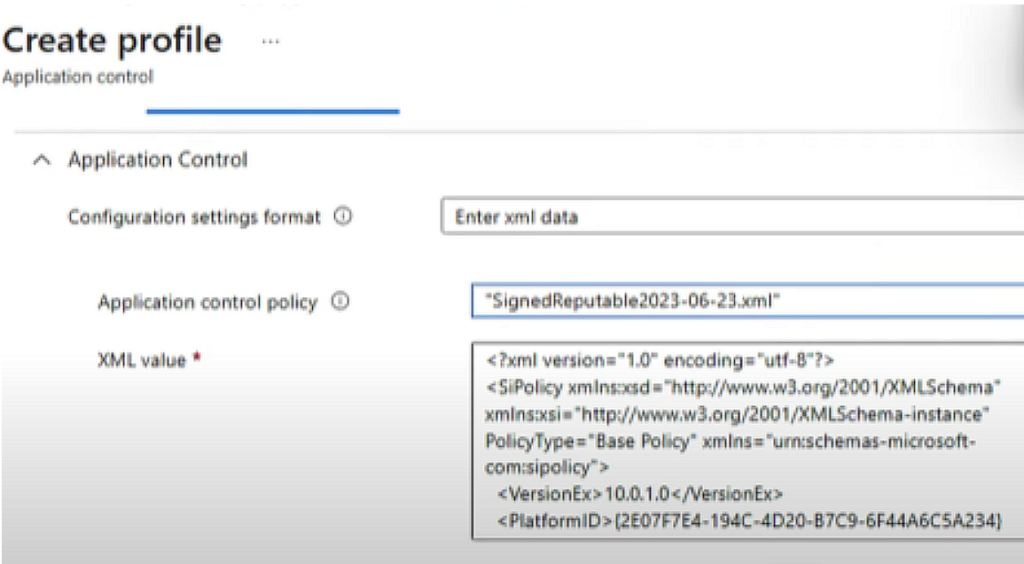
If you have distributed IT, you can use scope tags.
Finally, assign the profile to a security group containing the devices that you want WDAC to be set up on.
Voila! That’s it, you’ve successfully configured WDAC with Intune. To ensure that only approved and secured applications run in your environment following the DevSecOps framework, WDAC is something you should consider implementing if you haven’t already.
If you have any questions or need assistance in implementing Intune, feel free to download our Taming the Device Zoo: The Ultimate Guide to Microsoft Intune eBook or contact us. Our experts are here to support you on your journey to a more secure computing environment.


