Sensitivity labels are a great feature of M365 Information Protection to ensure that your data is classified and protected. However, you have to enable this function first before you can start using it.
In this blog post, we will go through the step-by-step process of activating sensitivity labels so you can apply them on Teams, M365 Groups and SharePoint (SPO) sites.
Let me start by giving you some context so that I can capture your attention here. Let’s say you are a Compliance Administrator for your organisation. You login to the compliance portal to create labels for Groups and Sites, but you notice that the option to do so is greyed out (see below image).

Bummer! What do you do now?
Well, you use the “power” of PowerShell to accomplish your goal. So, without further ado, let me share the magical commands that will make you a Compliance Rockstar.
- Search for PowerShell ISE, right-click then run as admin
To install Microsoft Graph PowerShell SDK modules, run the below commands:
Install-Module Microsoft.Graph -Scope CurrentUser
Install-Module Microsoft.Graph.Beta -Scope CurrentUser
Then click ‘Yes to All’ (*You may get this prompt a few times)

- Connect to your tenant using your admin credentials, then run the command:
Connect-MgGraph -Scopes “Directory.ReadWrite.All”
When you see a pop-up box, enter your admin credentials. You will get the prompt below. Make sure you have the authority to give consent on behalf of your organisation, then click ‘Accept’.

- Next, run the below command:
$grpUnifiedSetting = Get-MgBetaDirectorySetting -Search DisplayName:”Group.Unified”
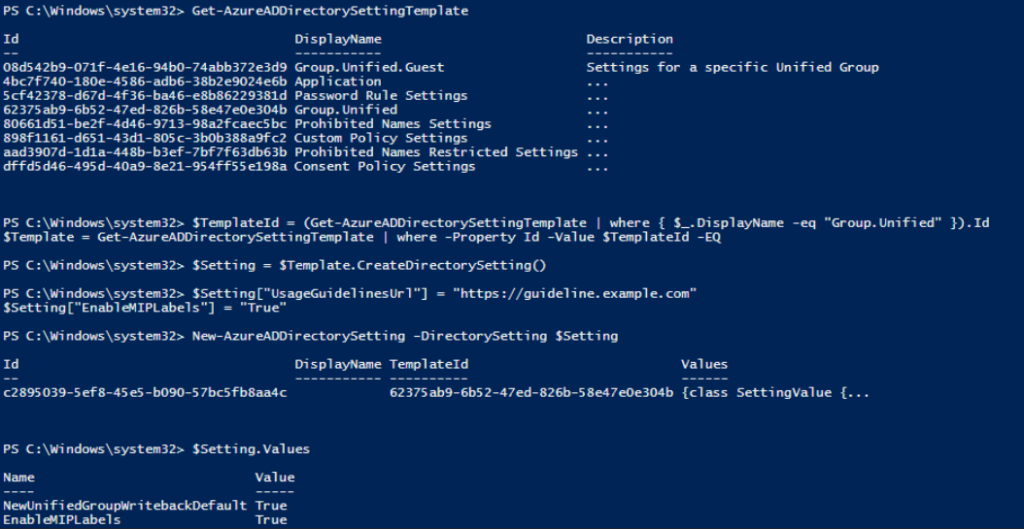
If you do not see any values returned stating that EnableMIPLabels are set to True, you would need to run other commands as specified below:
i. Connect-AzureAD, Enter admin credentials to sign-in
ii. Get-AzureADDirectorySettingTemplate
iii. $TemplateId = (Get-AzureADDirectorySettingTemplate | where { $_.DisplayName -eq “Group.Unified” }).Id
$Template = Get-AzureADDirectorySettingTemplate | where -Property Id -Value $TemplateId -EQ
iv. $Setting = $Template.CreateDirectorySetting()
v. $Setting[“UsageGuidelinesUrl”] = “https://guideline.example.com”
$Setting[“EnableMIPLabels”] = “True”
vi. New-AzureADDirectorySetting -DirectorySetting $Setting
vii. $Setting.Values
In the image below, you can see that the EnableMIPLabels has been set to True.

Now, we have performed all the steps to make sure that the option to configure labels for Groups is enabled. To verify the successful completion of the process we did, I have refreshed the page and can now see the option has been enabled (see image below).

Voila! I hope this guide saved you the time and the headache of going through multiple links just to activate sensitivity labels. For more information on upping your Information and Data Security game, reach out to us today to start a conversation on how Insentra can strengthen your data security architecture.
Until next time, hasta-la-vista!


