Working at Insentra means I’ve been involved in a number of Citrix NetScaler (ADC) migrations over the years, whether it is migrating a configuration from one appliance to another (legacy equipment on its last legs to the new shiny one just out of its box) or one environment to another (replicate Production to DR – with a few tweaks). As with anything you do repeatedly, you begin to find more efficient ways. . Today I decided to share the steps I go through when taking an existing NetScaler load balancing configuration and applying it to another appliance.
There are a couple of things that need to be done first, namely:
1. Ensure the new NetScaler appliance is up and running, licensed and connected to the network (kinda obvious really!)
2. Copy certificate files from the existing appliance on to its replacement
STEP
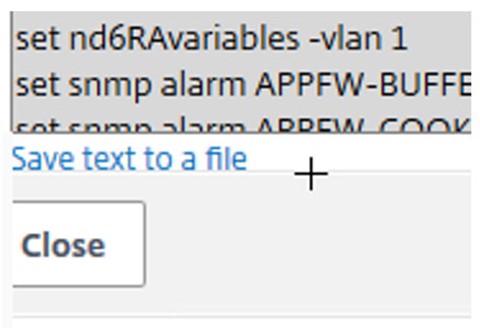
Login to the existing NetScaler and download a copy of the saved configuration from the Diagnostics node within the NetScaler GUI by clicking ‘Save text to a file’
SCREENSHOT / NOTES

STEP
Using your favorite text editor, mine’s Notepad++ which I’ve used in this blog as an example, set Notepad++ format to Unix EOL
SCREENSHOT / NOTES

STEP
Open the existing NetScaler configuration file and remove specific NetScaler appliance settings.
SCREENSHOT / NOTES
You’re aiming to have left the load balancing configurations and any SSL / certificate settings, such as below:

STEP
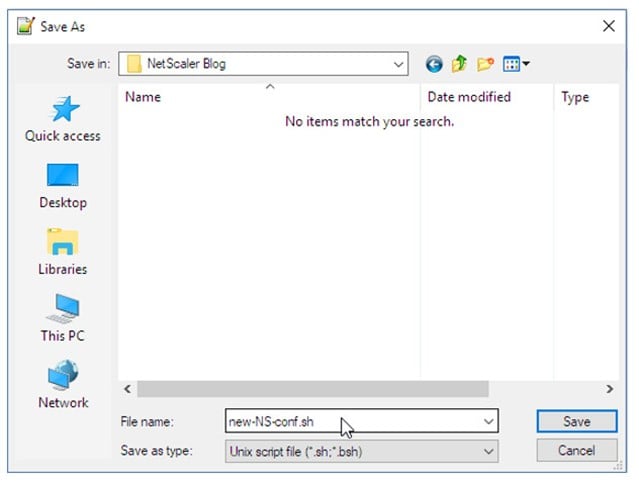
Save the new configuration file as a Unix Script file
SCREENSHOT / NOTES

STEP
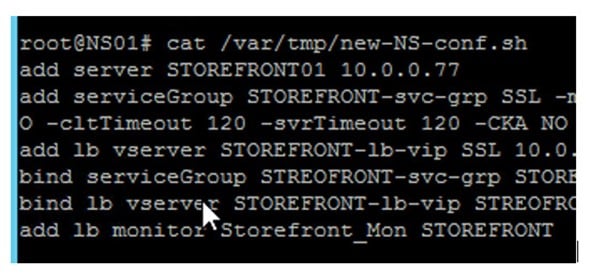
Verify file doesn’t list ^M at the end of each line:
3. Open PuTTy session to active NetScaler and login
4. Enter NetScaler ‘shell’; type shell
5. Type: cat –vet /var/tmp <script file name>
And verify each line as needed
SCREENSHOT / NOTES

STEP
Type ‘exit’ to come out of the NetScaler shell prompt
SCREENSHOT / NOTES

STEP
To apply the configuration saved within the batch file:
6. Type: batch –filename /var/tmp/<script file name> -outfile /var/tmp/<script file name>-out
Review the –outfile for any errors & remediate as needed. You can use WinSCP to open and view the –outfile for review.
SCREENSHOT / NOTES

There you go, you should now have the existing NetScaler configuration applied to the new appliance. This process is valuable if your existing NetScaler has a lot of Load Balancing virtual servers and their associated services or service groups. This is also useful if you need to replicate your existing production configuration – by using ‘find/replace’ within the text editor you can rename the load balancing virtual servers and change their IP addresses to something suitable for your DR or test environments.
Spending a little time upfront in editing the original configuration and turning it into a batch file can save you a lot of time migrating or replicating an existing NetScaler configuration.
Stay tuned for more NetScaler tips and lessons learnt in the field and if you want them delivered to your inbox make sure you sign up to Insentragram!


